As a video editor I am often brought video shoot by missionaries from the field wanting it edited
into a professional looking video for use when visiting their supporters for fundraising presentations. Usually the videos have been shot using a cell phone, GoPro or sometimes a small handheld video camera. Quite often, the videos are virtually unusable because they are shot hand held, are very shaky and have terrible audio.
Here are a few tips on what not to do when creating videos for fundraising presentations:
- Don’t try to hand hold the camera. This is the primary cause of shaky video. In the example video below, the operator was walking holding the cell phone at arm’s length. Hand holding often causes excessive noise from the hand rubbing on the phone. You will hear loud noises in the video cause by this.
- Avoid Fire Hosing. This is where the camera is not pointed at a subject or target but rather rotates and tilts at a rapid pace. This will quickly make the view dizzy or nauseous because of the constant movement. If shooting with a cell phone orientate in the horizontal position. Remember your edited video with be displayed on a normal TV or projection system which the screen has a horizontal orientation.
- Avoid deep shade with very bright areas in the background to shoot from. In the example video there is a shoot done in the shade of a tree with a brightly lit field in the background. Most video cameras choke in such conditions.
- Don’t attempt to use the phone or camera’s built in microphone. It’s prone to picking up too much background noise. The last two clips in the video below are excellent examples of bad audio
For More Professional Looking Videos for Fundraising Presentations
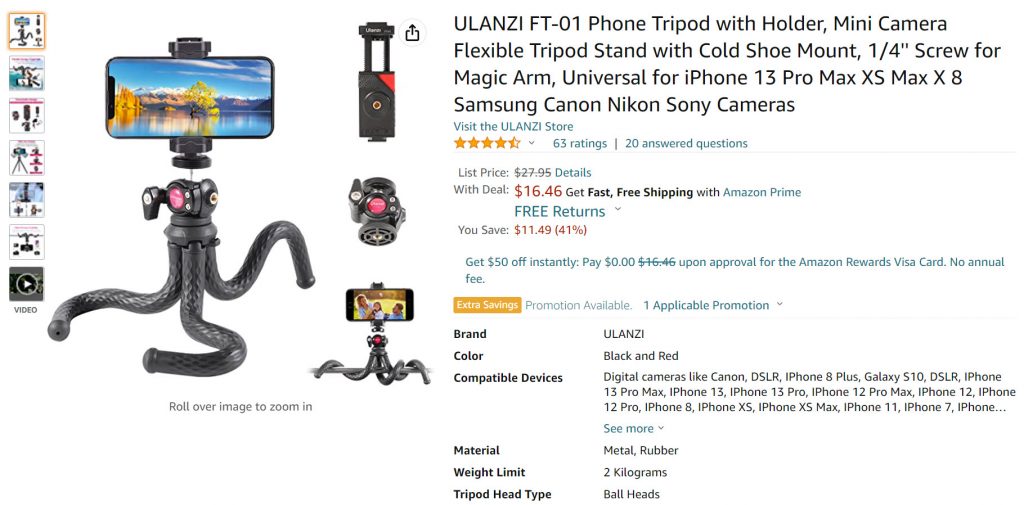
- Shoot steady video. We know it isn’t always practical for missionaries to pack heavy or afford expense equipment to take with them to the field. Low cost travel table top tripods for cell phones and small cameras are available at reasonable cost and are very light weight. The one shown at the right is available on Amazon for less than $17. It can handle cell phones and small cameras. Its flexible legs can be wrapped around tree branches etc. for versatile applications.

- If you are forced to shoot without a tripod then: get your body in position so that every breath you take doesn’t lead to unwanted camera motion. Use the ground, a wall, or another object to brace the camera and get interesting visual perspectives. Avoid having your video look like it was shot with a surveillance camera. Try shooting from several different angles and prospective. If possible have the speaker stop talking for a moment as you change positions.
- Shoot in widescreen horizontal orientation. Keep in mind that the folks back home are going to be viewing your video in wide screen 16W by 9H format. You can capture much more content in a single shot, but remember that widescreen video doesn’t mean shooting all wide shots. Television is still an intimate medium. Close-ups of faces will convey more emotion than a group shot of a crowd.
- However, on cell phones, avoid zooming. This will quickly seriously degrade the quality of the video. Instead, move closer to your subject.
- Avoid unnecessary zooms and pans. Beginners’ often tend to zoom, pan and tilt the camera far too often and rapidly. The result can leave viewers seasick. When panning and tilting do it slowly and purposely. If you subject is moving around try to follow it keeping it in the center third of the screen. Preachers are notorious for moving around on the stage. Don’t try to follow his every move. Only pan if he starts to move outside the center third of the screen area. Then slowly only enough to keep him in the center third of the screen. Being zoomed in too tight can make following a moving target difficult.
Shooting Outdoors
- While the sun provides good light it presents challenges.
- Shoot with the sun behind you.
- If you’re recording people, they may complain about looking directly into the sunlight, but tell them that the shots you’ll get will be much better than if they were silhouetted against the sun.
- Avoid shooting during mid-day. Overhead sunlight produces harsh light that looks bad on camera.
- Shooting up to 2 hours after sunrise or 2 hours before sunset provides the most photographic light.
- On mildly overcast days you can shoot most any time of the day. Heavily cloudy days can tend to be too dark for good video quality.
Shooting Indoors
- Indoor shooting is much more challenging. Video craves light and you rarely have adequate light for indoor shoots.
- Try to position your subject such that they are lit by a nearby window that provides some natural light.
- Otherwise, try to position your subject under either an incandescent or florescent light to provide as much light as possible.
- When shooting indoors, before you start your shoot take a few seconds of video with your subject holding a white piece of paper in front of him. This will allow the editor to do white balance corrections to yield good skin tones in the finished video.
Audio Considerations
- Recording good audio is one of the more difficult, and expensive, parts of doing in field
- video.
- If you are unable to have a microphone system the best bet is to locate the cell phone or video camera as close to the speaker as possible.
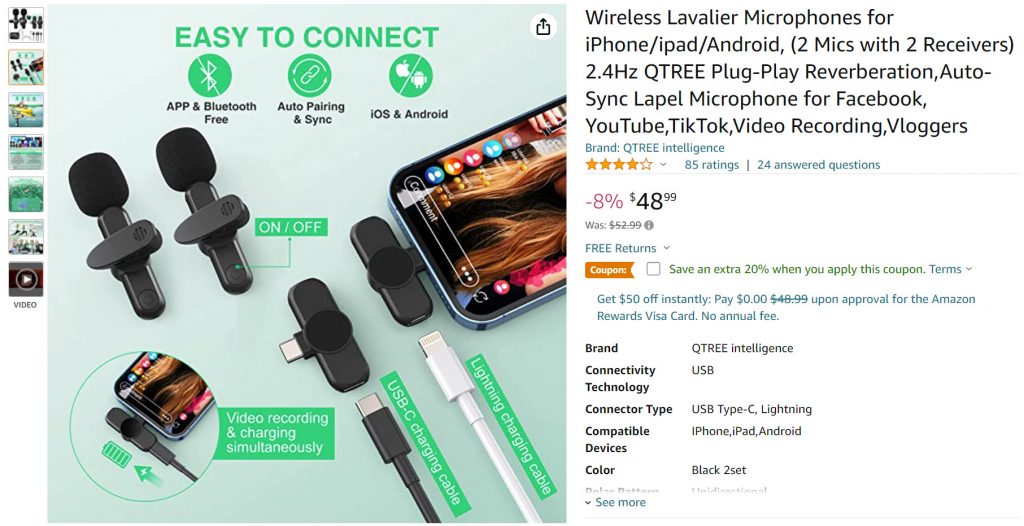
- Ideally you will want to have each speaker have a lavalier style microphone.
- Recently numerous options have become available for Wireless Lavalier Microphones for iPhone & Android cell phones. This is one option on Amazon.

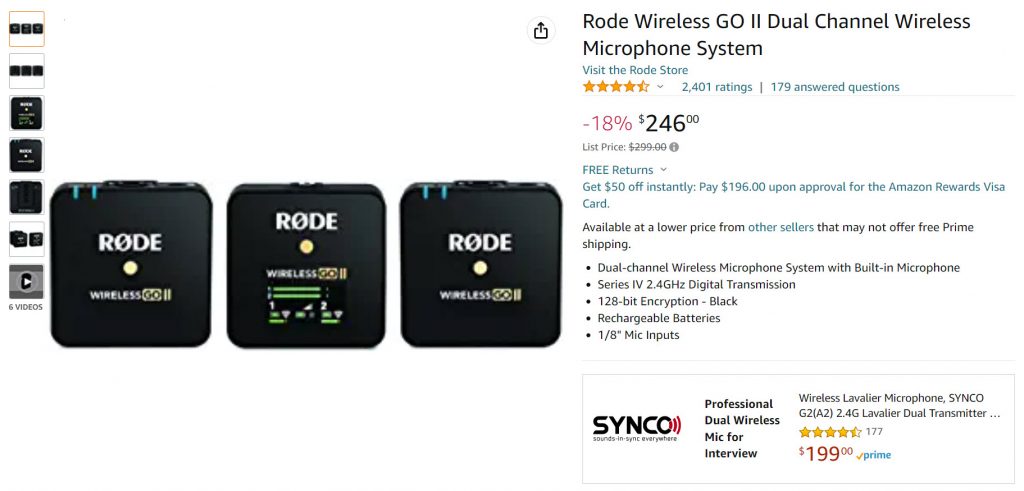
- When using a camera or video camera you will see a significant increase in cost.
- Probably the best value is the Rode Wireless GO II system also available on Amazon.
- The big plus is that each transmitter has a record function that allows you to record a backup copy of the audio.

Hopefully these tips will help the next time you need to shoot video in the field to send home for your
supporters. If you have questions about creating professional videos for fundraising presentations, please feel free to email me at jFreeman@Techteam.org or visit our website.


